TeltoHeart First Start
Contents of the box
 |
 |
 |
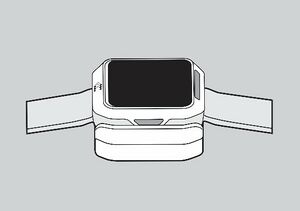
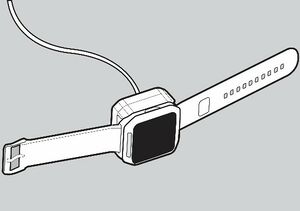
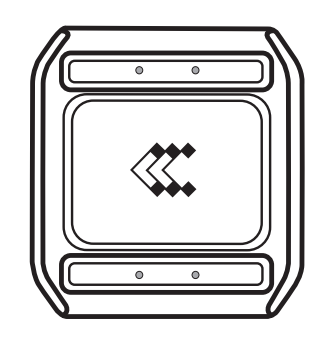
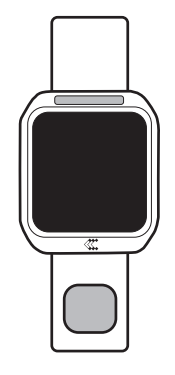
| Charging dock used to charge TeltoHeart | TeltoHeart with strap attached | Instructions with easy-to-understand illustrations. |
- TeltoHeart is supplied with charging dock which is powered via USB connector with 5 Vdc, USB Type-C.
How to wear TeltoHeart
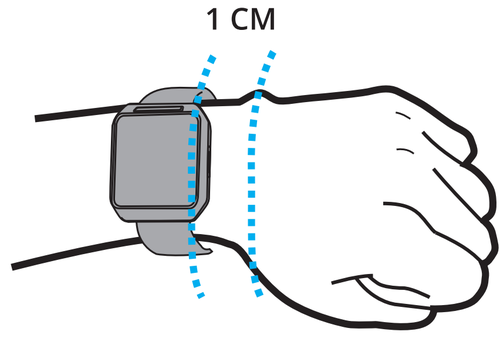 |
| Secure TeltoHeart around your left hand lower arm, 1 cm above your wrist bone, as illustrated. Avoid fastening it too tightly or too loosely. |
How to Charge TeltoHeart
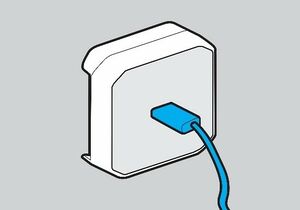
| 1. Insert a USB Type-C cable into the charging dock. |
|
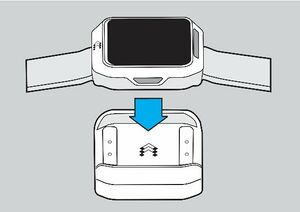
| 2. To recharge, place TeltoHeart on the charging dock, which is included in the packaging. |
|
The battery life can last for a maximum of 24 hours. | |
Overview
Start using TeltoHeart
| How to Use TeltoHeart | ||||
| 1. To activate TeltoHeart, press and hold the button for not less than 10 seconds until the device screen powers on. | ||||
| 2. When TeltoHeart is turned on for the first time, it will prompt to download MyHealth application. | ||||
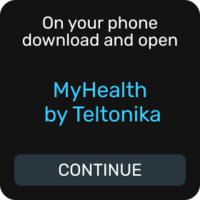
| ||||
| 3. You will be able to locate TeltoHeart on the MyHealth application as its name will be displayed on the TeltoHeart screen. | ||||
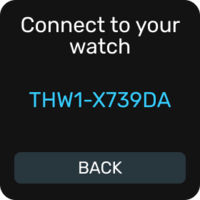
| ||||
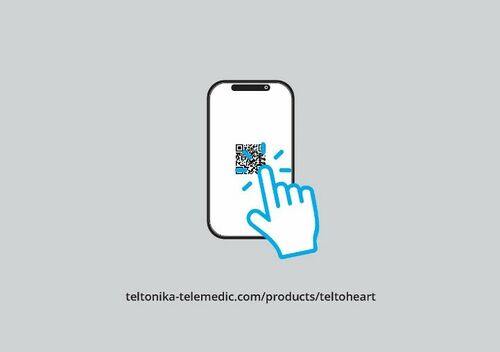
| 4. Visit Teltoheart to download the MyHealth application or scan the QR code below. Alternatively, you can explore the iOS app store or Google Play store and search for the MyHealth application made by Teltonika Telemedic. | ||||
| ||||
| ||||
 Scan the QR code to download the MyHealth application Scan the QR code to download the MyHealth application
| ||||
| 5. After installing the app, tap | ||||
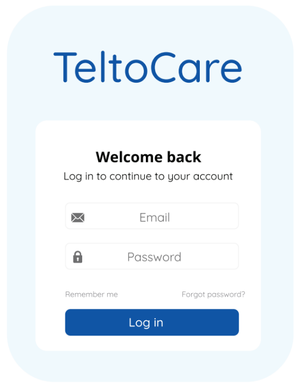
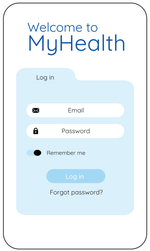
| If it is your first time using the app, sign-in by entering your email address and the password, which has been sent to your email. Tap Log in to proceed. | ||||
| ||||
| 6. MyHealth application will prompt you to change the default password to a personal preferred password of your choice. | ||||
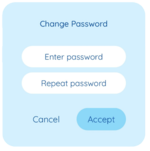
| ||||
| 7. Once you have successfully changed your password, the next step is to review and accept the Terms and Conditions. You will be prompted to acknowledge and agree to the Terms and Conditions before proceeding. | ||||
| 8. Once signed-in, the MyHealth application will ask for Bluetooth permissions. Tap Allow to let the application use Bluetooth connection. | ||||
How to Pair TeltoHeart with MyHealth Application | ||||
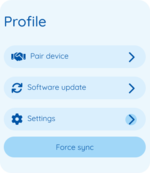
| 1. Tap Pair device to proceed with the pairing process. | ||||
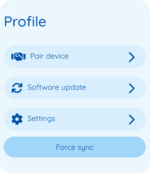
| ||||
| 2. MyHealth application will initiate a search for nearby devices. | ||||
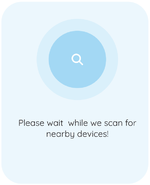
| ||||
| 3. Select your smart wearable by tapping on it. | ||||
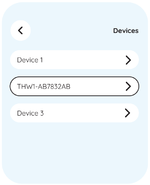
| ||||
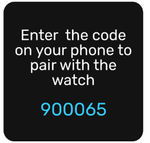
| 4. TeltoHeart will notify you of an incoming pair request. | ||||
| ||||
| 5. When prompted to do so, enter the passkey shown on your TeltoHeart into the Bluetooth pairing request window in the MyHealth application. | ||||
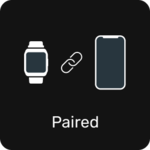
| 6. TeltoHeart will notify you about a successful pair with the MyHealth application. | ||||
| ||||
| 7. Make sure MyHealth application is always running in the background, otherwise the data transfer will not be available. | ||||
| ||||
Recording an ECG
| Recording an ECG | |||||||||
Before you start
| |||||||||
Setup
| |||||||||
| How to take ECG recording
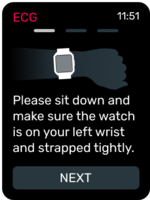
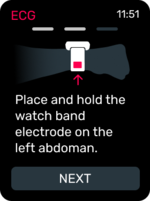
1. Follow the instructions on screen and tap NEXT.
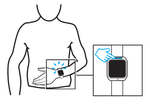
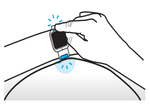
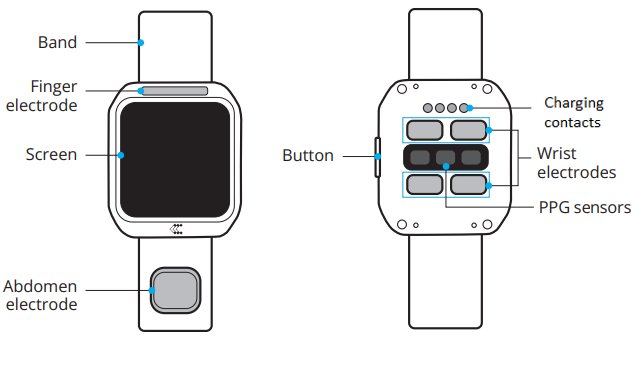
3. Place and hold the abdomen electrode on the left abdomen side in the level of the belly button.
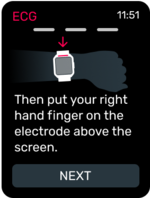
4. While holding the abdomen electrode on the left abdomen side in the level of the belly button, put your right hand finger on the finger electrode above the screen.
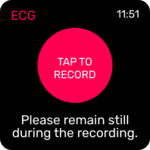
5. Select Tap to Record and during the countdown, perform the actions described above. Do not forget to keep your right hand finger on the finger electrode and remain still during recording.
| |||||||||
| |||||||||
How to view data in TeltoCare
| 1. Open a web browser and go to the URL TeltoCare
| ||||
Technical specifications
BODY | |
| Dimensions (Width x Length x Height): | 40.5 (1.6") x 47 (1.9") x 14.7 (0.6") mm |
| Weight: | 52 g |
| Main CPU: | nRF5340
2x ARM Cortex M33 cores for application and network |
| Platform (OS): | Zephyr RTOS |
DISPLAY | |
| Brightness: | 250 NITS |
| Resolution: | 240 x 240 px |
| Type: | LCD TFT |
| Size: | 1.3“ |
| Cover lens: | Corning gorilla glass 3 |
| Surface hardness: | >8 H |
| Display area: | 547.56 sq mm |
TELTOHEART MEMORY | |
| Capacity: | 128 Mb |
CONNECTIVITY | |
| Bluetooth version: | 5.3 |
| Remote access: | Cloud |
| Operating frequency: | 2402 MHz – 2480 MHz |
| Max. output power: | 3 dBm |
FEATURES | |
| |
POWER SUPPLY | |
| Build-in rechargeable Li-Po battery (not replaceable by the user): | 410 mAh,
1.56 Wh |
| Charging voltage: | 5 V ⎓ |
| Operating voltage: |
|
| Max. Input current (A): | 0.5 A |
SENSORS AND COMPONENTS | |
| |
BUTTONS | |
| Side button (Turn on, Restart, Back) | |
STRAPS | |
| The wristband with an electrode is made of silicone or TPE rubber with an integrated stainless-steel electrode | |
| Strap material: | Silicone or TPE |
STRAP SIZE | |
| Band with electrode (W x L x H): | 22 x 115 x 3 mm |
| Band with buckle (W x L x H): | 22 x 75 x 3 mm |
SUPPORTED PERIPHERALS | |
| ACCESSORIES: |
|
Compatibility with other manufacturer accessories: |
|
COMPATIBILITY WITH MRI OR CT WAS NOT CHECKED AND USE OF DEVICE IN MRI OR CT ENVIRONMENT IS PROHIBITED | |
| Bluetooth compatibility: | Devices that use Bluetooth v5.0 or later in 2.4 GHz (2.402 – 2.480 GHz) band and SMP protocol are compatible with the device |
CONDITIONS FOR USE | |
| Temperature range Operation:
Charging temperature range: Storage temperature range: |
|
Safety
Warranty
The warranty conditions and term of warranty shall apply in accordance with agreed conditions between you and your supplier.
It is important to carefully read and follow information for user (included but not limited quick start guide, technical specifications and user manual) and terms and conditions provided by the manufacturer. Failure to adhere to these guidelines may result in malfunctions or damage to the product, for which the manufacturer cannot be held responsible. It is the responsibility of the user to ensure that they fully understand and comply with the information provided by the manufacturer and terms and conditions before using the product. By doing so, users can help ensure the safe and effective use of the product and avoid any potential damage or liability.
